
Bead making is a hands-on activity that sparks creativity and teaches kids some nifty skills in the process. From simple necklaces to bold bracelets, making beads isn’t just about art. It’s also a smart way for kids to practice focus, patience, and even some gentle hand-eye coordination. Getting started doesn’t have to be expensive or complicated. Here I’ll share the basic tools and materials you need, how to set up your space, some simple starter projects, and helpful tips so kids can jump right into the colorful world of bead making with confidence.
What Is Bead Making for Kids?
Bead making is just what it sounds like: creating and stringing beads to make jewelry, keychains, decorations, and more. Kids pick, design, and combine beads in all sorts of patterns and colors. It’s perfect for rainy days, birthday parties, or even as a calming after-school activity. Plus, beading can help sharpen creative thinking and problem-solving skills without ever feeling like homework.
The best part? There’s a bead project for every age and skill level. Younger kids can start with larger, chunky beads that are easy to handle; older kids might enjoy working with smaller seed beads or learning how to make their own beads from clay or paper. No experience is needed to begin, and every finished bracelet, necklace, or sun catcher feels like a small victory.
Why Bead Making Is a Good Choice for Kids
Bead making gives kids a unique creative outlet that they can enjoy solo or in a group. Here’s why it’s worth checking out:
- Builds Fine Motor Skills: Grabbing, threading, arranging, and tying help strengthen little fingers and improve control.
- Boosts Creativity: Kids learn to mix and match colors, invent patterns, and dream up new project ideas.
- Encourages Patience: Stringing beads requires focus, which helps kids practice sitting still and working step by step.
- Perfect for All Ages: The variety in bead sizes and project ideas means any kid can find something fun to make, from toddlers to tweens.
- Provides a Sense of Accomplishment: Finishing a project, even something simple, gives a real sense of pride, and maybe even a handmade gift for someone special.
Must-Have Tools and Materials for Kids’ Bead Projects
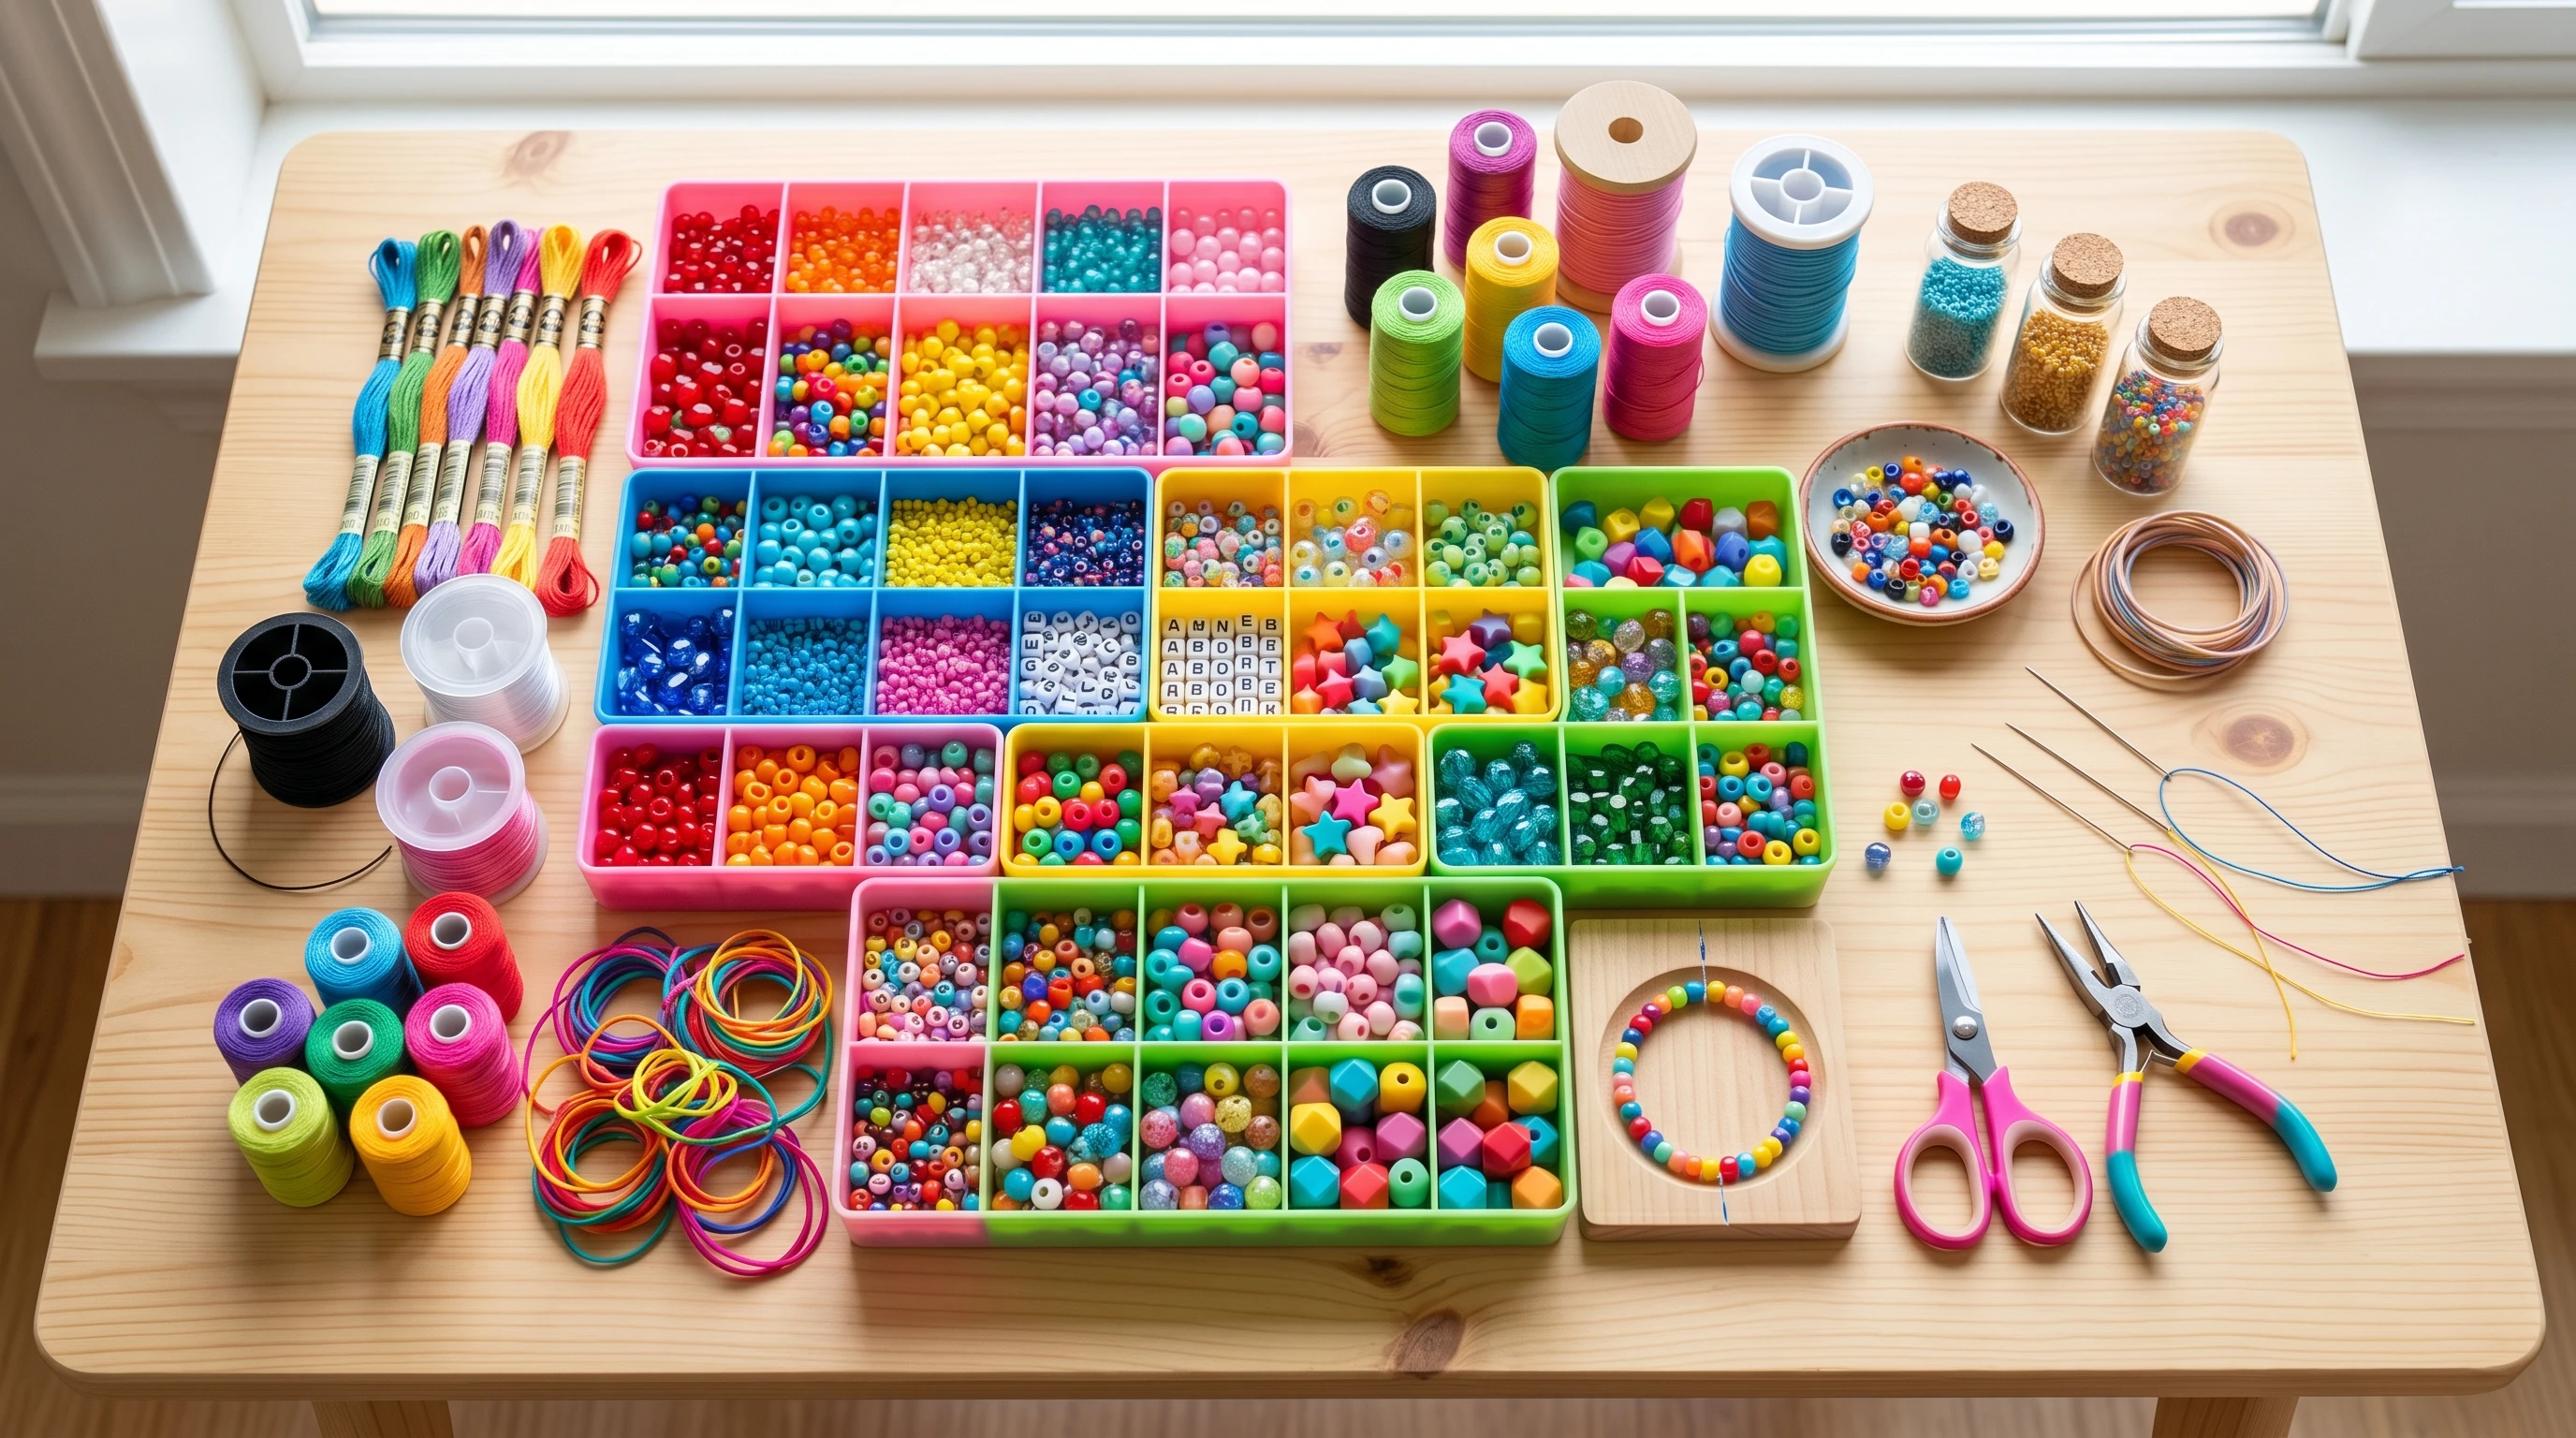
Starting out, you don’t need piles of fancy equipment, just a simple setup with a few basic supplies. Here’s a roundup of what you’ll need to get kids started on their beadmaking adventures.
Common Bead Types For Kids
- Pony Beads: These chunky, colorful plastic beads are super popular because they’re easy to handle and come in every color you can imagine.
- Wooden Beads: Lightweight, smooth, and easy to handle. Often prepainted or in natural finishes that kids can decorate themselves.
- Plastic or Acrylic Beads: Lighter than glass, these come in fun shapes, like letters, animals, stars, and more.
- Foam or Felt Beads: These large, soft beads are best for younger kids and toddlers learning to thread and sort.
- Homemade Beads: Paper, clay, pasta, or even repurposed buttons work great for easy DIY projects. Making their own beads adds another creative step to the experience.
Threading Materials
- Elastic Cord: Stretchy and forgiving, perfect for bracelets and necklaces that don’t need clasps.
- Plastic Lacing (Gimp): Slightly stiff and comes in bright colors, easy to thread for younger hands.
- Nylon String or Jewelry Wire: Best for older kids looking for more durable creations (adult help may be needed).
- Yarn or Ribbon: Adds fun texture and is easy to knot, making it a good pick for beginners.
Basic Tools
- Blunt-tip Scissors: These are super important for safely snipping string and ribbon.
- Bead Tray or Sorting Bowl: Even a muffin tin or small plates keep beads from rolling away while kids work.
- Tweezers: Handy for picking up small beads, especially for older kids.
- Needle (Optional): Plastic craft needles help with smaller beads but keep them away from younger kids who might poke themselves.
- Clasps and Clips: If you want to try more advanced projects, adding a clasp can give jewelry a finished look.
Simple Steps to Set Up a Kid Friendly Bead Space
A bit of prep goes a long way to making bead time fun, and mess-free. I always recommend the following for making things run smoothly:
- Work on a table or tray with raised edges to keep beads from scattering.
- Use bowls and muffin tins to sort beads by color, size, or shape.
- Keep scissors, cords, and other tools within reach.
- Lay down a mat or old sheet for quick cleanup, especially if you’re using paint or glue.
- Store bead supplies in labeled containers, so everything is easy to find (clear jars or zip bags work great).
Setting up a dedicated bead kit means you can pull it out anytime for rainy days or a burst of creative energy, and everything’s already organized.
Quick Guide: Getting Started With Kid’s Bead Making
Kicking off with bead crafting is easy when you break it down. Here’s a short checklist to get rolling:
- Choose Beads and String: Pick a handful of beads in favorite colors and a cord or elastic that’s easy to handle.
- Cut to Size: Measure out the length needed, adding extra for tying knots.
- Plan the Pattern: Younger kids may enjoy sorting beads by color or size before stringing.
- Thread the Beads: One by one, push the beads onto the cord. If it’s tricky, a plastic needle or tape on the end can help.
- Knot and Finish: Tie a tight knot to secure the ends. For necklaces, a grown up can add a clasp if you want.
- Show Off the Creation: Let your kid rock their bracelet or necklace, or wrap it up for a special gift!
Sticking to age appropriate beads and keeping things low-pressure is key for a happy crafting session. Celebrate every effort, even if it’s just a single, chunky bead on a string.
Stuff To Think About When Choosing Bead Making Supplies
Selecting bead supplies might feel a tad overwhelming with so many choices out there. A bit of planning goes a long way. Here’s what I look for every time I set up a craft:
- Age Suitability: Make sure beads are the right size for the child’s age to avoid any choking risks and to help them handle beads more easily.
- Material Safety: Always use nontoxic, kid-safe beads and paints. Check for smooth edges and avoid anything sharp or rough.
- Project Complexity: Stick to simple stringing projects for little ones, while older kids may like more complex patterns or even sculpting beads from clay.
- Personal Interests: Let the child pick beads in their favorite colors and shapes to boost excitement for the project.
Stores carry kid focused bead kits, but you can also mix your own supplies for a personalized mix. Reading reviews and checking ages on packaging helps buyers make informed decisions. If you prefer a more ecofriendly route, there are lots of recycled and natural options, like wood, clay, and even upcycled buttons. These all work really well and give a little variety to your projects.
Bead Storage and Clean Up
Clear containers, old jars, or plastic boxes with compartments are really handy for storing leftover beads and leftover supplies. This makes it easy for kids to see what they have and avoids accidental spills. Wiping down your surface and sweeping up stray beads at the end keeps things ready for next time. Keep a small handheld broom or vacuum nearby, and cleaning up will be a breeze.
To make storage more fun, encourage the kids to decorate their bead boxes with stickers or paint. Personalizing bead storage inspires kids to keep their supplies organized. Set up a regular catch-up time to check supplies, toss broken beads, and make sure you’re stocked for the next project.
Kid Friendly Bead Making Project Ideas
When getting started, it helps to have a few simple project ideas on hand. These are tried and true favorites:
- Friendship Bracelets: String colorful pony beads on elastic and knot to finish.
- Name Necklaces: Use letter beads to spell out names or favorite words.
- Keychains: Create a fun pattern then add a key ring or clip to the end.
- Beaded Bookmarks: Thread beads on ribbon, tie knots at each end—a super cute gift idea!
- Sun Catchers: Arrange translucent beads on a wire shape and hang in a sunny window.
These easy projects build confidence and are perfect for sharing with friends, family, or teachers. They also give kids a taste for the different techniques in bead making, so they can decide what to try next. To add to the fun, plan a crafting day where everyone tries out a new idea. You might even set up a makeshift display, so finished projects can be shown off around the house. The possibilities are endless and encourage kids to come up with their own bead designs over time.
Frequently Asked Questions About Bead Making for Kids
Every new hobby comes with questions. Here are a few common ones I hear when it comes to bead making for kids:
Question: What’s the safest bead size for smaller children?
Answer: I recommend beads larger than 1cm diameter for kids under five. Always supervise toddlers closely when using any type of bead to avoid choking hazards.
Question: Can I make beads at home if I don’t want to buy them?
Answer: Absolutely! Try rolling colored paper strips into beads, using pasta, or shaping air dry clay. It adds extra fun to the activity and teaches kids about recycling. Crafting homemade beads also gives a real sense of ownership over each creation.
Question: What’s the best string for kid bead projects?
Answer: Elastic cord is a favorite because it’s simple to knot and stretches to fit any wrist or neck. For really young kids, go with thick, soft yarn or ribbon. Cotton twine is another easy option if you want something easy to find around the house.
Question: How do I encourage my kids to keep crafting and not get frustrated?
Answer: Offer lots of encouragement, focus on fun rather than perfection, and let them make their own creative choices. Keep sessions short for younger kids, and always make time to proudly show or gift each finished project. Having a variety of bead types and colors on hand also helps kids find what feels most fun for them, keeping creative energy high.
Ready, Set, Bead!
Starting bead making with kids is all about having fun, getting a little messy, and celebrating each colorful creation. The supplies are super affordable, and the setup couldn’t be easier. Whether your group loves jazzy jewelry, playful keychains, or inventing their own homemade beads, there’s a project out there for everyone. So, try out a few simple ideas, explore different material combos, and watch the kids beam with every finished craft. Stick with it, let imagination lead the way, and you’ll have a go-to activity for creative afternoons anytime inspiration strikes.
If you have any questions or comments, feel free to leave them in the comments below.